NAPTIME PROJECT – ART UPCYCLE

To redecorate the living room on a ‘thrift store budget’, I had to get creative! While at one of the thrift stores I found a studded, strong frame, but it held an art piece that wasn’t my style. By the looks of the backside, it wasn’t going to be easy to change the art out and replace the backing. I took it home anyways, and put a few supplies to work.

20140215-200903.jpg

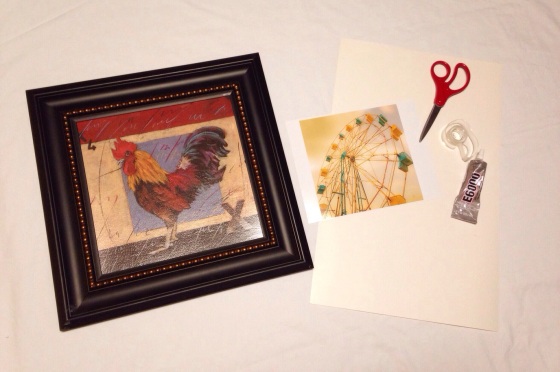
I gathered a small piece of white poster board, glue, tape and an image printed on photo paper. This would also work beautifully with a magazine page or piece of fabric you would like to frame.

20140215-201158.jpg

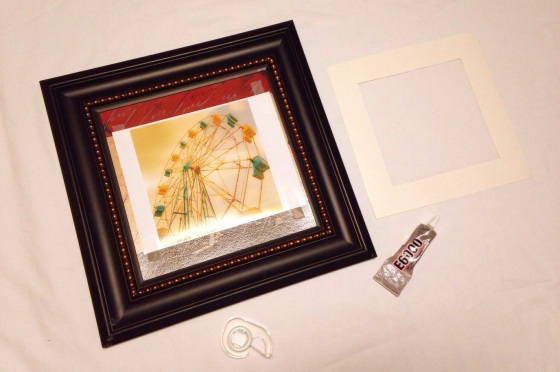
I cut the poster board to the exact dimensions of the frame opening. Then, I cut out a square a little smaller than the art print. Ultimately it will look like matting.

I taped the photo over the old art, then I used the glue all around to hold the mat in place.

20140215-201525.jpg

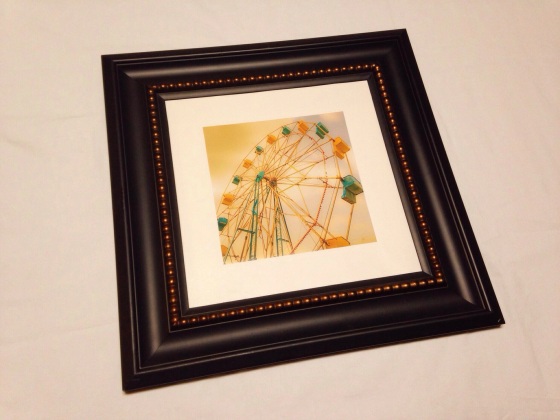
And there it is, a custom masterpiece!

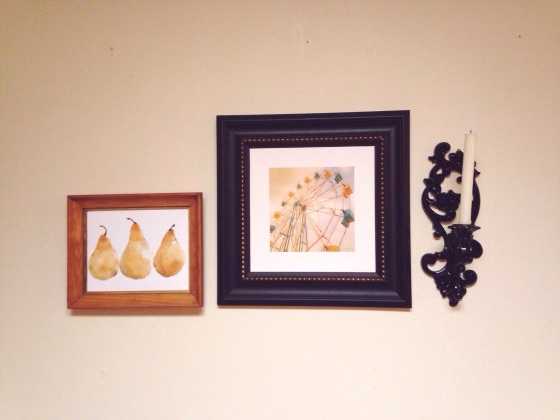
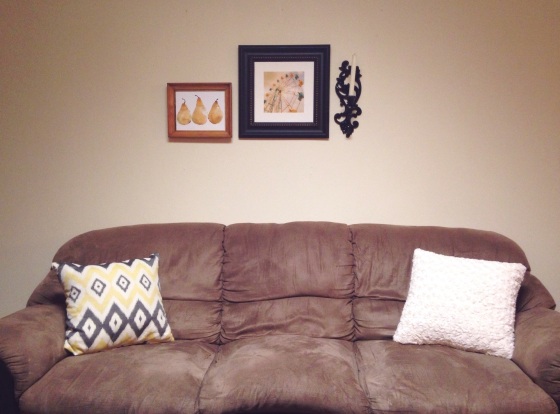
Here it is, now hanging in the living room:

20140215-202234.jpg

20140215-202302.jpg

So simple, it was done during naptime!

20140215-201825.jpg

LAST MINUTE GIFTS

20140213-204144.jpg

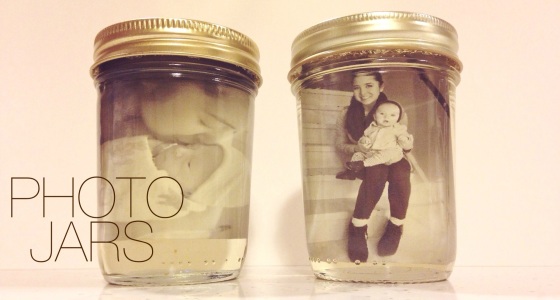
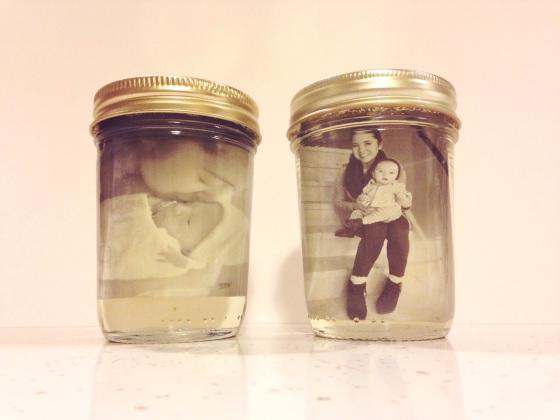
I have a nice gift lined up for Jordan, but I decided to make a last minute keepsake gift to give him as well. A few moms from a group I’m in made these photo jars as a way to incorporate their babes into this years’ Valentine’s Day gifts. I decided to give it a try last night!

20140213-204619.jpg

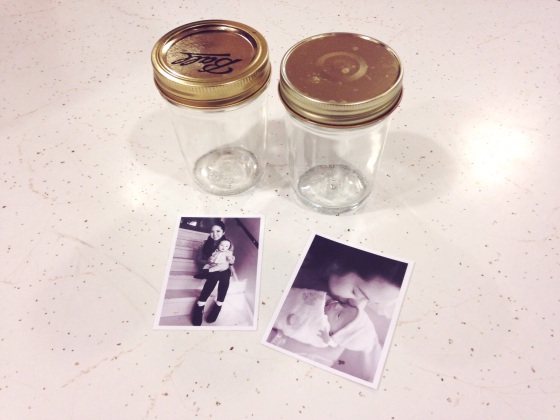
I gathered my materials: a couple small canning jars, a small black & white photo for each jar, vegetable oil and super glue to keep the lid permanently shut.

20140213-204750.jpg

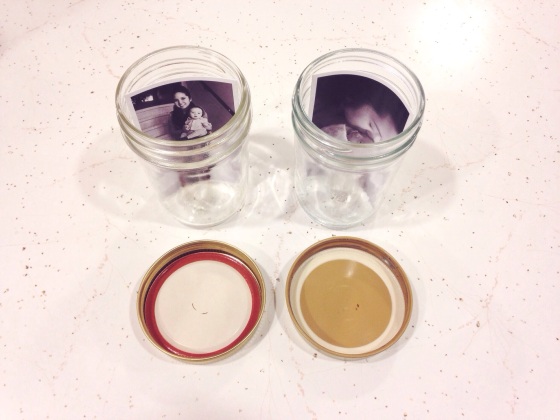
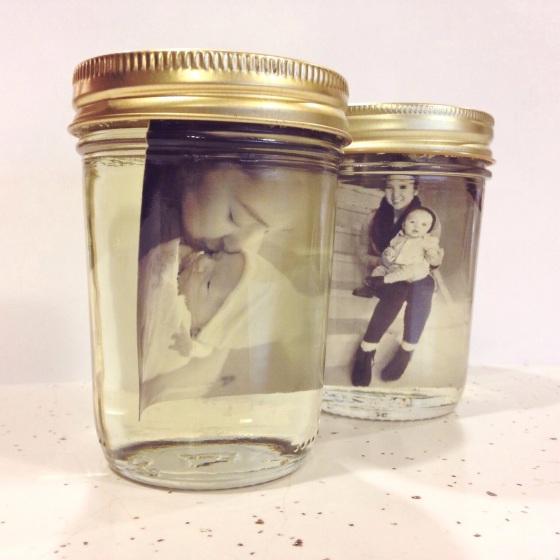
I simply placed the photos in and filled the jars to the top with the vegetable oil. The photos do float to the top, so keep that in mind if you plan on making some of your own. I put the glue around the inside rim of the lids and screwed them on tight.

20140213-205003.jpg

20140213-205102.jpg

I do love the way the photos are suspended in the oil, I think it gives a nice effect from all angles!

I’ll give them to Jordan to put in his lockers at work. I hope he loves them!

Happy Valentine’s Day!

20140213-205243.jpg

THRIFTY THURSDAY – GRAPHIC T-SHIRT

20140212-235052.jpg

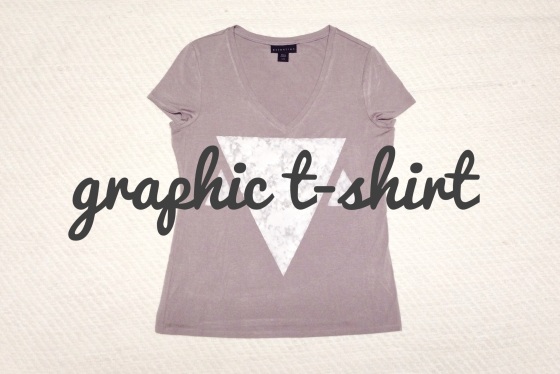
I have a slight obsession with oversized V-neck shirts! They are comfy, easy to style and they make nursing a breeze. Awhile back, I found this oversized grey t-shirt (it’s a size large, I’m normally around a small) and have since kept it aside to DIY.

Today I did a quick naptime project to spruce up the plain shirt:

20140212-235711.jpg

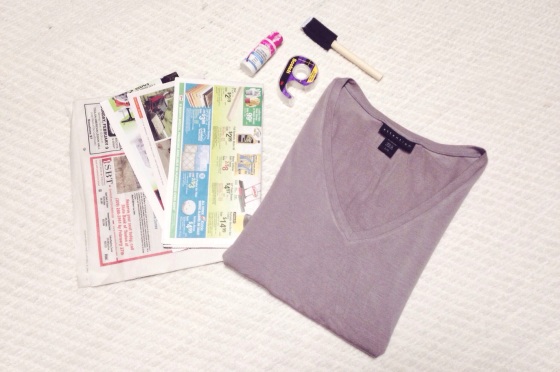
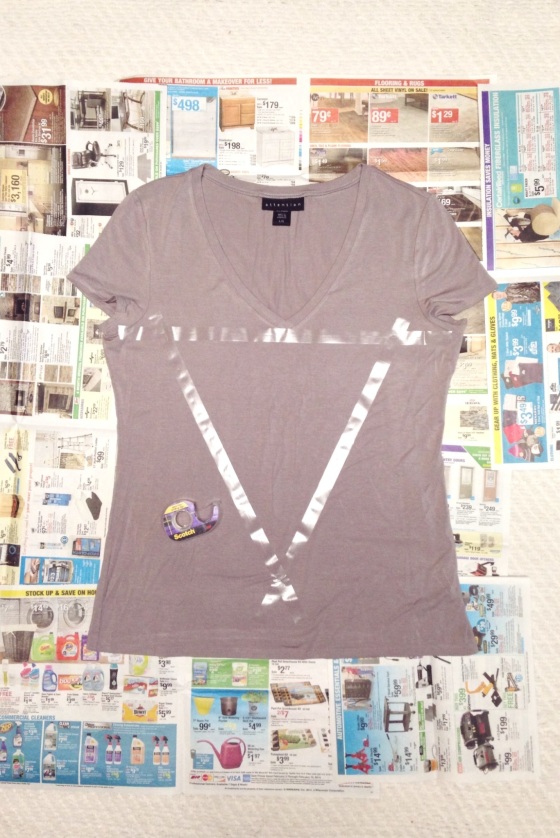
I gathered simple supplies I hand on hand: newspaper, Scotch tape, a painting sponge, fabric paint and the shirt.

20140212-235841.jpg

I taped out my design.

20140212-235937.jpg

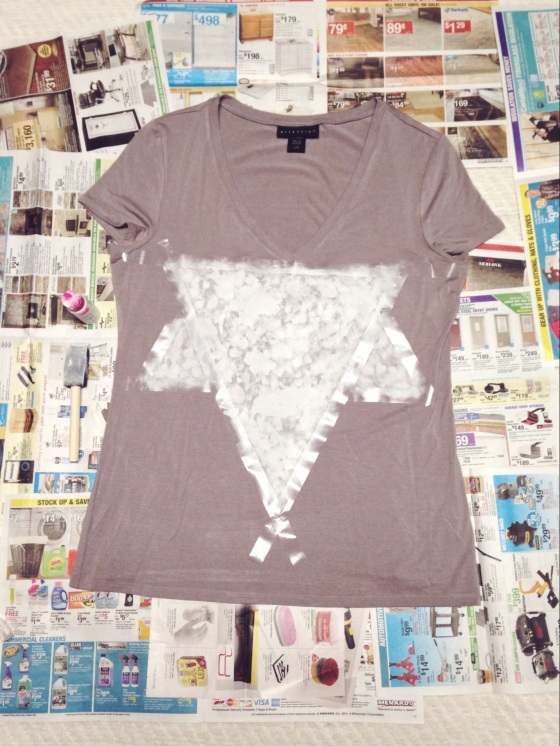
Then, I dabbed paint everywhere within the tape boundaries. I didn’t go for an even finish, I wanted it to look more artistic.

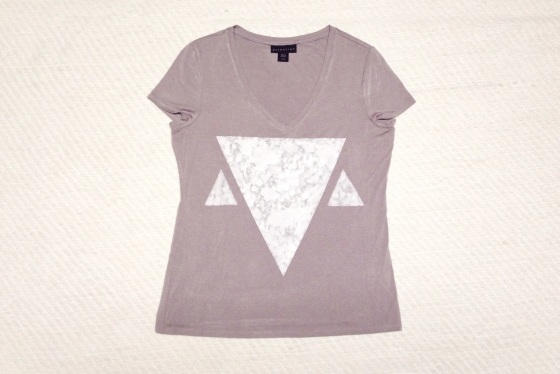
Also, I spilled a little paint outside of my taped design, so I simply added to my design. Problem solved.

20140213-000226.jpg

I took off the tape and stepped back and had a look. Quick, easy, and another item added to my wardrobe!
xo,

20140213-000450.jpg

NAPTIME PROJECT: CUPCAKE STAND

20140209-231435.jpg

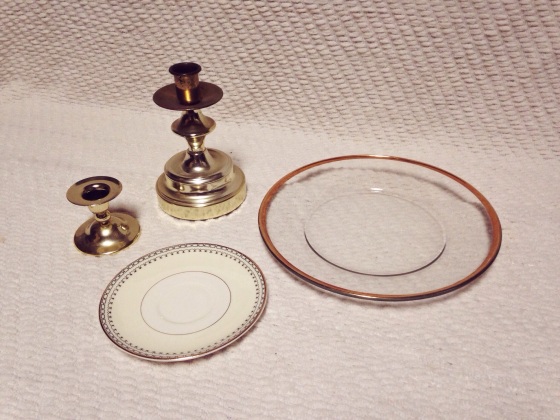
This is another thrift store project. When I browse, I love looking at all the mis-matched dishes, and I usually fall in love with the beautiful prints and patterns. I can never justify buying them to eat on (we have so many dinner plates), but I found a project that allows me to showcase a couple beauties!
Also while thrift shopping, I usually see candle holders – another good, random item for this project! I recently found a couple gold candle holders, and found matchy, gold-accented plates to pair with them for this project. Ooh, also needed: E6000 glue.

20140209-232101.jpg

20140209-232115.jpg

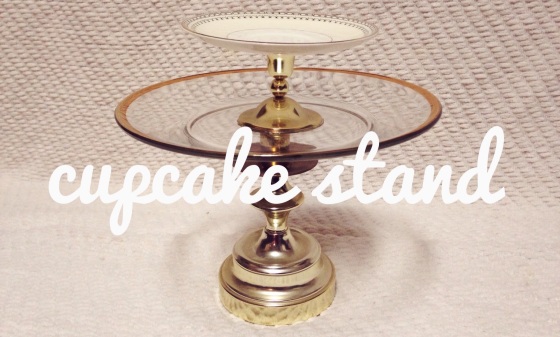
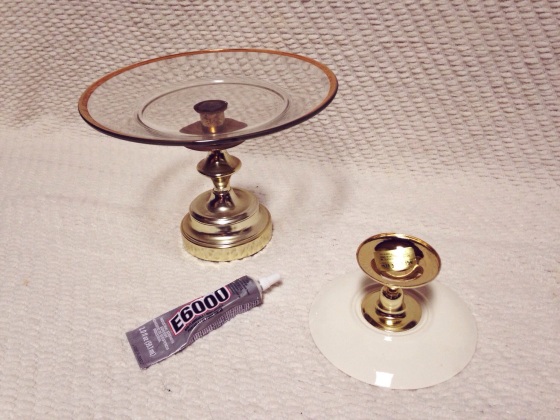
This is a simple project. To start, I cleaned each piece to ensure the glue would stick correctly. I glued the large plate on top of the ‘base’ candle holder. Then, I glued the second candle holder to the bottom of the smaller plate. Centering is key, I just eyeballed it!

20140209-232428.jpg

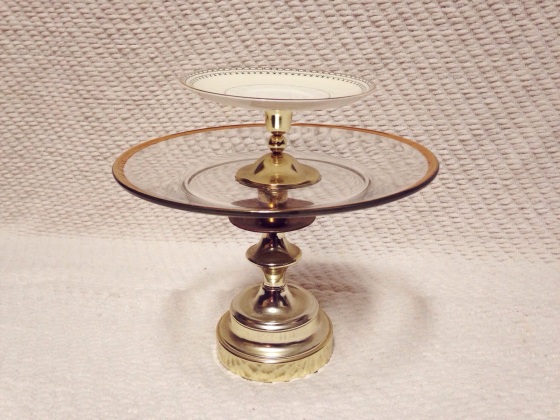
After those pieces dry, finishing up this project is as simple as gluing the two together!

There you have it, another quick naptime project. Display cupcakes, snacks, candies, etc, the possibilities are endless!

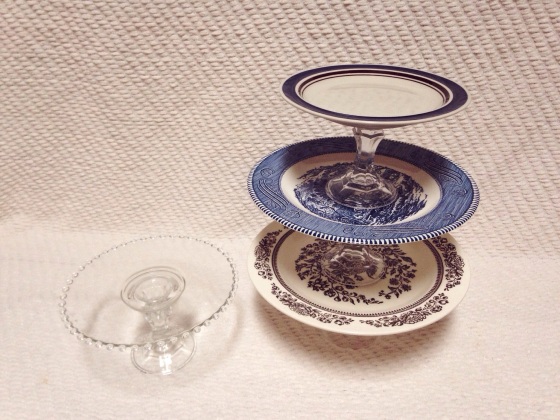
I had actually made a couple other versions that I will use for Tryson’s 1st birthday party in May:

20140209-232749.jpg

I love how the result is somewhat shabby-chic!

Have fun,

20140209-232945.jpg

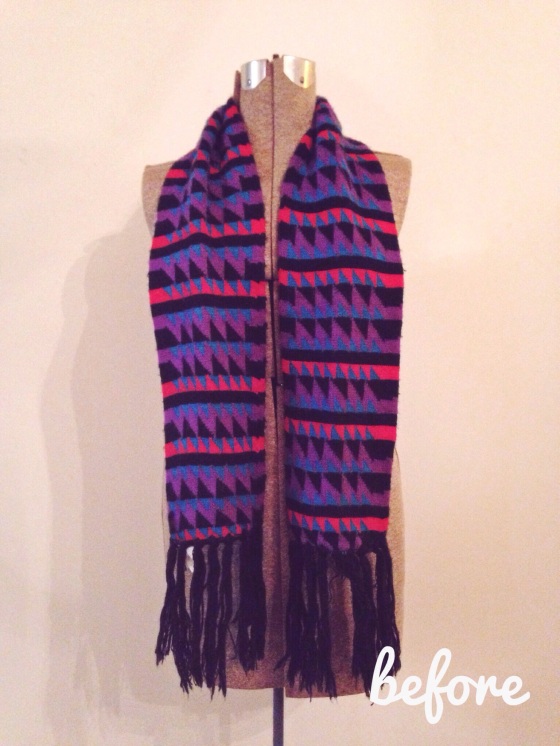
NAPTIME PROJECT: THRIFT-STORE INFINITY SCARF

20140208-110008.jpg

Tryson must be going through a growth spurt; poor babe has been restless in his sleep, tossing & turning and crying every so often. My mommy-senses are cranked up, rushing in to give him comfort when he stirs.

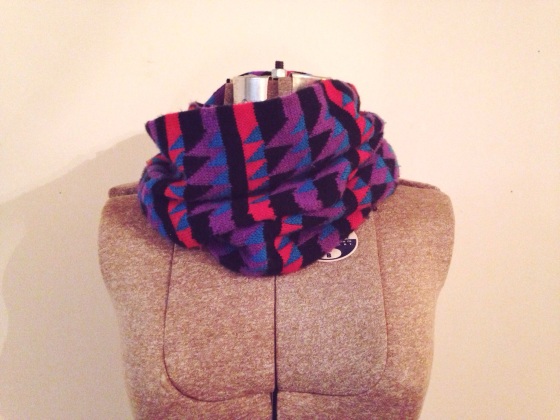
Quick naps mean quick projects. Today’s is turning a scarf I found at a thrift store into a trendy, printed infinity.

20140208-110439.jpg

20140208-110633.jpg

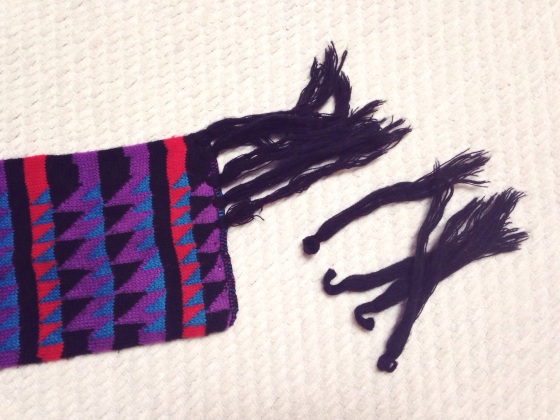
First things first – I took off the fringe. The fringe on this scarf was simply looped through, so I didn’t have to cut it off.

20140208-110724.jpg

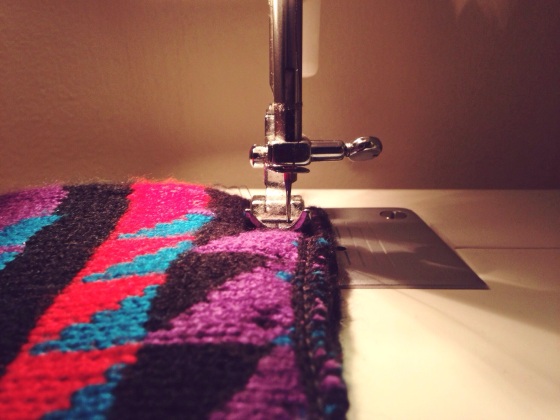
Next up – I sewed the ends, right-sides together.

20140208-110831.jpg

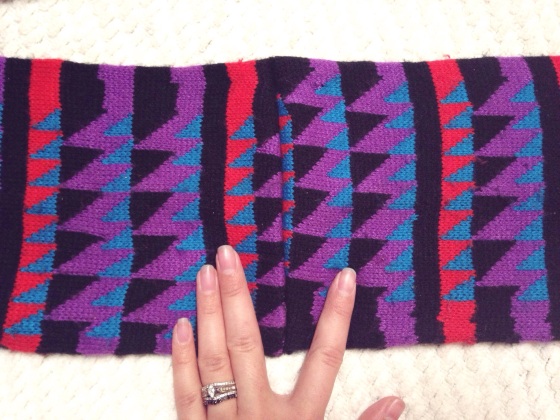
And there you have it, a one-of-a-kind accessory. Loop it around your neck twice & spice up an outfit!

20140208-111107.jpg

Must run off to give more mama-snuggles 🙂

20140208-111237.jpg

THRIFTY THURSDAY – UNPAPER TOWELS

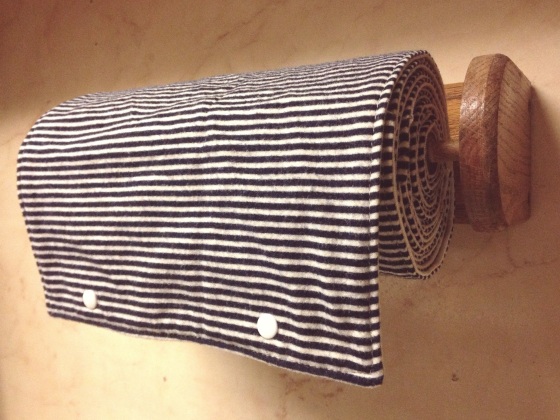
In our apartment, we don’t have ample storage, so we have our towels folded in small drawer. Conveniently, above the sink in the kitchen, a paper-towel holder was installed pre-Blakey family residency. Until now, I had always used it as a towel rack, displaying whatever clean hand towel being used at the time. I decided to complete a naptime project to make better use of that paper-towel holder & some of the extra material I own, along with upping our clean-up supply. Unpaper towels! This was a nice, mindless project for me today.

20140205-223655.jpg

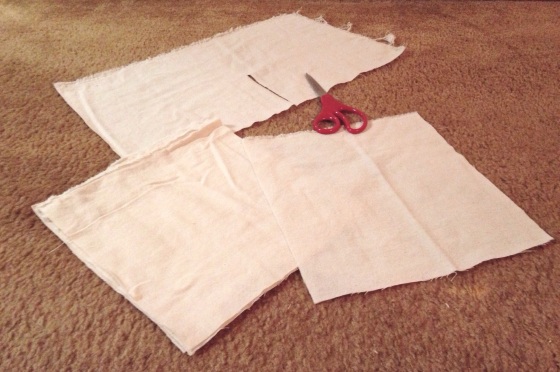
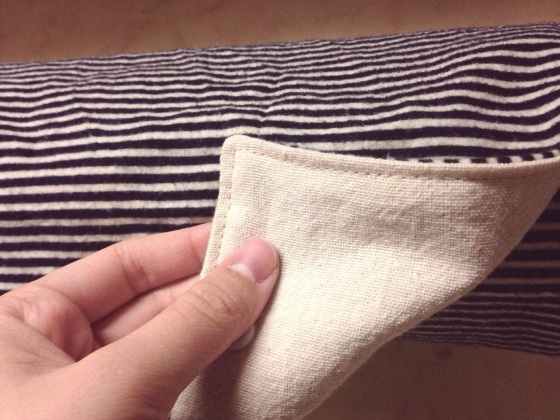
I didn’t use a tutorial or a pattern, but I attacked my fabric pile with no fear. I had a long, skinny scrap piece of washed osnaburg fabric (osnaburg shrinks quite a bit, so I always wash and dry twice before working with it), so I simply cut it into identical pieces that would fit nicely on the paper towel holder.

20140205-224217.jpg

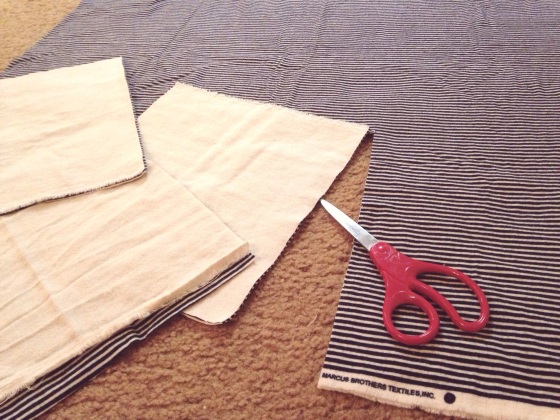
I also had a large piece of flannel fabric on hand that I found at a thrift store over the summer. I cut another set of identical pieces to match the osnaburg. I placed them right-sides-together to prep them to be sewn; I didn’t even bother with pins. A. I have a baby and I leave pins everywhere if I take them out, and B. I seriously wanted to keep this project super easy and laid back. No pins!

20140205-224631.jpg

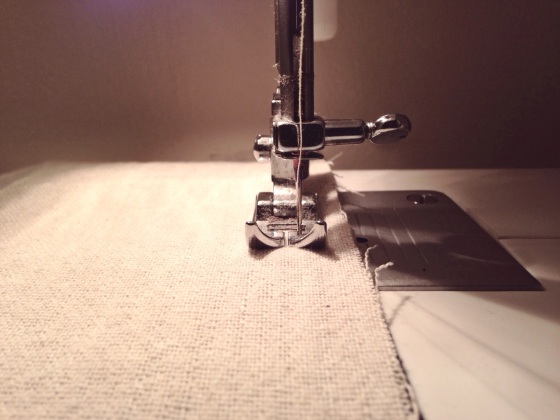
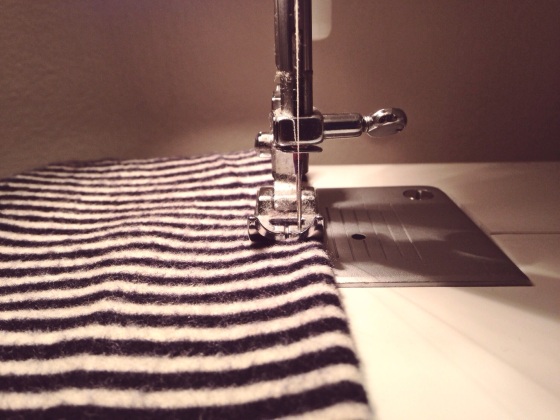
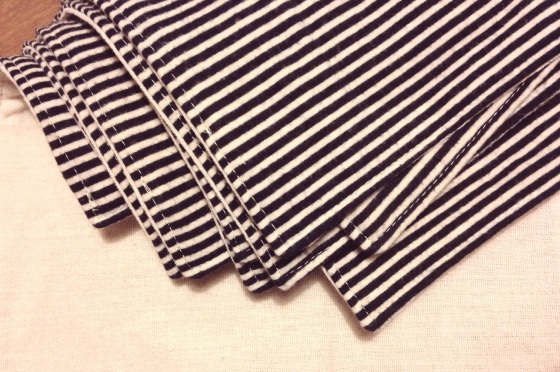
ZOOM! I sewed all edges together, leaving a space to turn them right side out.

20140205-224752.jpg

WEEE! I edged all sides with one continuous top seam, closing the small opening, and making things look tidy.

20140205-225128.jpg

20140205-225146.jpg

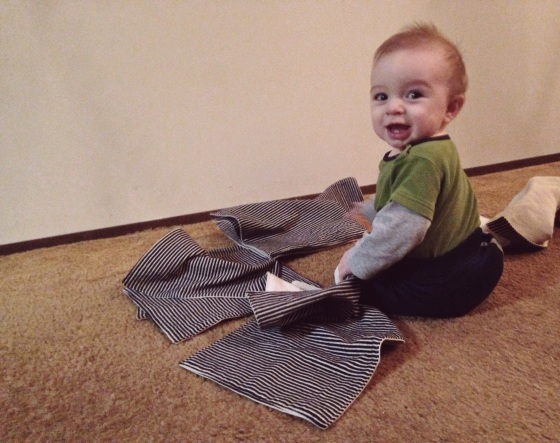
At one point, I had a cute little helper!

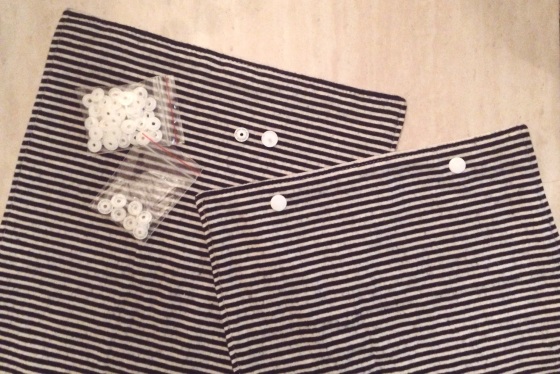
To finish up, I added two snaps to each edge to attach them together and make them similar to ‘ripping off a paper-towel’.

20140205-225414.jpg

And there you have it! I wonder if we will get into the swing of using them; Jordan, if you’re reading this, start using them.

20140205-231036.jpg

20140205-231059.jpg

Jordan has the next two days off, I love when he’s home with us!!

Crossing my fingers the next two days don’t fly by…

20140205-231844.jpg